Rituals that help you get into practice mode
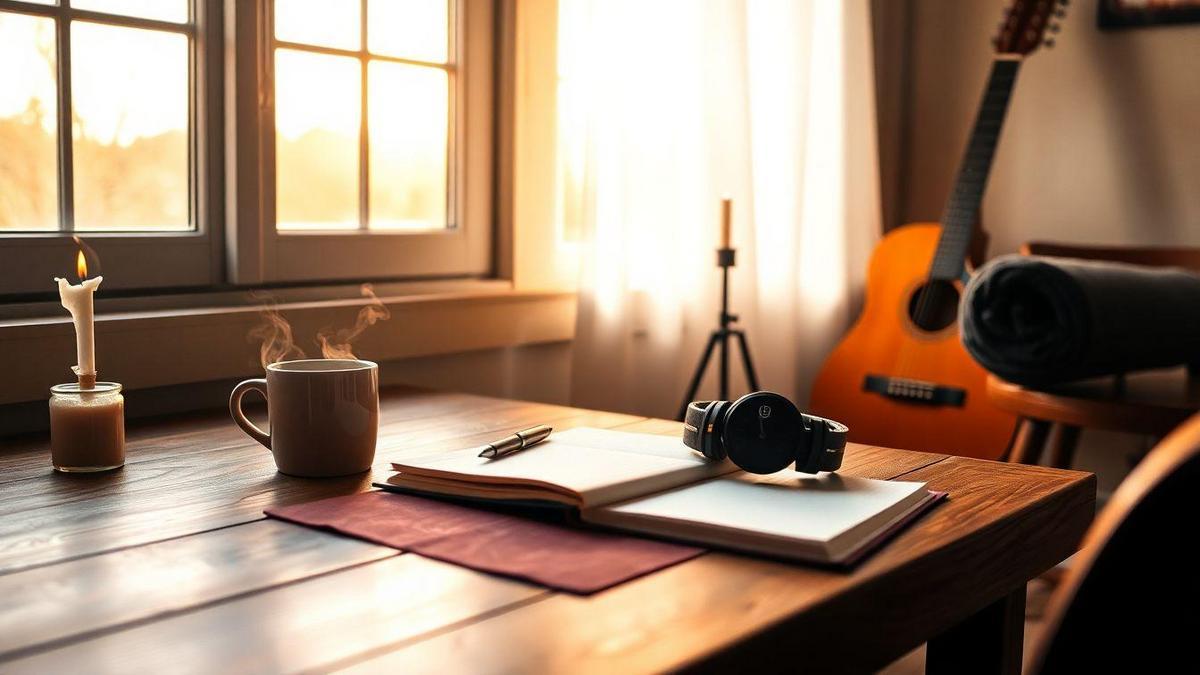
Rituals that help you get into practice mode start for me with a tiny anchor I touch before every session. My pre-performance routine locks focus: I breathe, visualize success, say a short trigger phrase, and do a quick stretch. These short moves make practice feel clear and calm — the sort of simple loop I describe in my guide to a simple daily practice routine.
Key takeaway — Rituals that help you enter practice mode
- Set a timer to begin and to mark an end (short blocks work best; see the power of just twenty minutes a day).
- Clear your space before you start.
- Do a short warm-up and a quick stretch.
- Turn off your phone and alerts to avoid the scroll trap (paired with tips to stop procrastinating on music practice).
- Choose one small, specific goal for the session (bite-sized targets make progress tangible; try ideas from writing your first melody without overthinking).
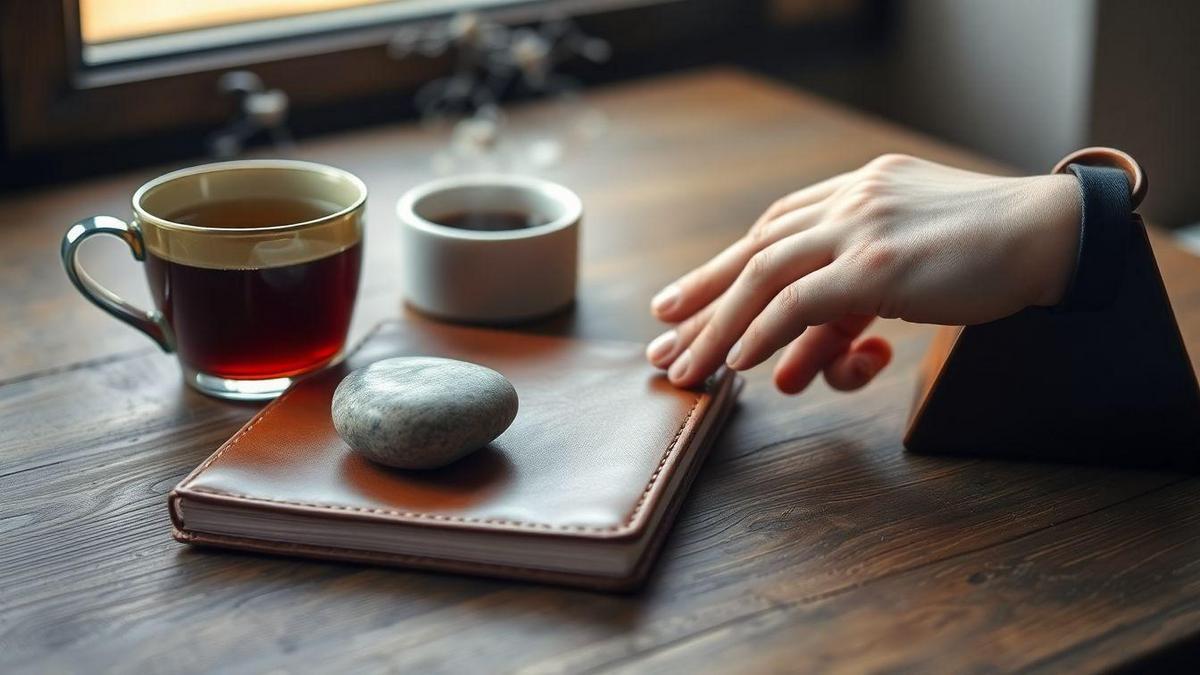
How Rituals that help you get into practice mode start for me with an anchoring ritual
I use a tiny, repeatable gesture to flip a mental switch. I call these moves Rituals that help you get into practice mode — a five-second habit that tells my brain it’s time to focus. I keep it tiny so it’s easy to start; when I miss a day, the anchor brings me back fast.
The small touch I repeat before every session
I press the edge of my desk with my fingertips. It sounds silly, but that touch is my signal. I’ll often pair it with one or two of these:
- Set a 25-minute timer for a clear work block (short focused blocks are surprisingly effective — read about the power of twenty-minute sessions).
- Take one slow, calming breath.
- Smile to spark momentum.
That tiny touch plus a timer removes the should I? question.
Why a short physical anchor builds habit
A clear cue tells your brain: Now. Benefits:
- Less friction — starting is easier than planning.
- Fast reward — one completed block feels good.
- Repeatable — works anywhere.
- Memory link — after repeats the cue triggers focus automatically.
This isn’t about willpower. It’s about wiring a simple loop: cue → action → tiny reward. If you pair that loop with consistent, realistic practice plans you’ll see gradual gains (and the research-backed ideas in talent vs practice help explain why repetition matters).
Simple anchor steps I follow
- Clear a small area.
- Press the same spot with my fingertips — this is the anchor.
- Breathe in for four counts, out for four.
- Start a short timer (10–30 minutes).
- Work until the timer stops.
- Mark a tick on a habit tracker or say done.
If I’m traveling, I press my fingertips on my knee — the ritual travels with me.
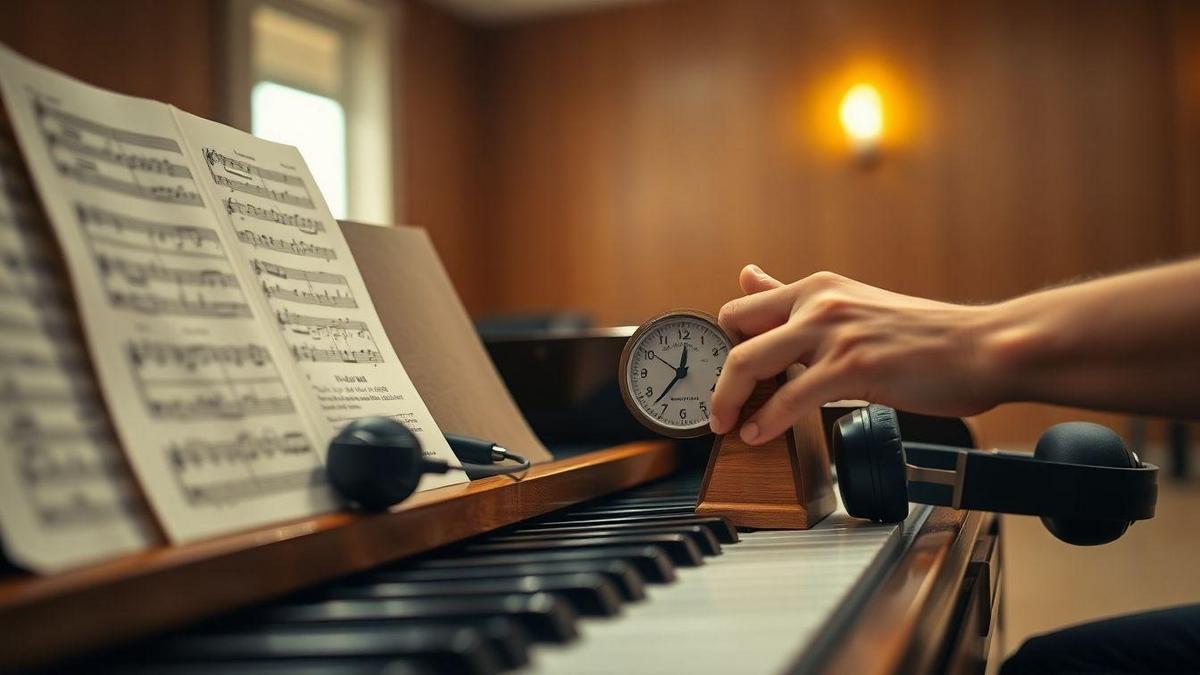
My pre-performance routine: a steady sequence I use to enter practice
I treat a short pre-performance routine like a key that opens a door. Those repeated small moves set the tone. I use a few Rituals that help you get into practice mode and stick to them so my brain knows what’s coming — and I try to keep the process enjoyable, which ties into ways to make practice feel less like a chore.
What I do in the first three minutes
- Breathe: three slow, deep breaths (inhale 4, exhale 6).
- Set a tiny goal: one clear, bite-sized task (example: clean the first eight bars; you can apply the same idea when writing your first melody).
- Tune / check posture: 15–30 seconds for quick safety checks.
- Play one comfort phrase: a familiar line to remind me I can do it.
- Visual cue: glance at the sheet and picture success for one second.
How consistency helps
- Reduces decision load — fixed steps save brainpower.
- Calms nerves — repetition lowers adrenaline.
- Primes muscle memory — the body learns the sequence.
- Signals the brain — the routine becomes a cue for focus.
- Builds confidence — predictable wins encourage harder work (useful when progress feels slow).
Short warm-up checklist
- 3 deep breaths.
- One tiny goal.
- Tune/posture check (15–30 sec).
- One comfort phrase.
- Start at 60% speed.
- Quick sip of water if needed.
- Timer: 20–30 minutes for focused work.
How I use a priming cue to trigger focus fast
I treat a priming cue like a light switch: one small action flips my brain from scatter to steady. A good cue is simple, repeatable, sensory, and tied to the moment before real work.
Choosing a clear priming cue
- Keep it brief: 2–5 seconds.
- Use a strong sense: sound, touch, or smell.
- Make it consistent: same cue, same spot, same action.
- Attach it to an existing habit (habit stacking).
Steps to pick a cue:
- List actions you already do before practice (drink water, sit, open a case).
- Choose a sensory action (sip, click, bell).
- Test it for three days; keep it if it works.
When a priming cue works best
- Right after you arrive at your practice spot.
- After a short transition (walk home, finish a snack).
- Before you touch your instrument or device.
- When energy is low — use a slightly louder or more physical cue.
Read Research on habit formation and cues for context on repetition and cueing.
Example: I used to scroll for five minutes. Now I set a 3-minute buffer, use the cue, and start focused — a habit that pairs well with tips to stop procrastinating on practice.
One priming cue I use before practice
My go-to: three deep breaths a click.
Steps:
- Close eyes; inhale slowly for three counts.
- Exhale for three counts.
- Click the metronome once and whisper Ready.
The breaths calm my body, the click locks attention, and the whisper signals the brain that practice starts now. This combination is one of my favorite Rituals that help you get into practice mode. Try it for a week and note the difference.

Why I include visualization as one of my Rituals that help you get into practice mode
Visualization is a quick mental warm-up. Before I touch my instrument or open my notebook I spend 30–60 seconds picturing the run, phrase, or exercise. That small pause shifts me from scattered to focused — a mini dress rehearsal that calms nerves and points attention. Visualization also helps you add feeling to a line; pairing it with techniques from adding emotion to every note brings the image to life.
How I imagine success before attempting a skill
I run a short mental movie showing me doing the skill cleanly. I include:
- Start: where I sit or stand, how I hold the tool.
- Motion: the exact movement I want, slow and clear.
- Sound/feel: tone, click, or tactile sensation.
- Outcome: the clean finish, a nod, or a relaxed breath.
I imagine the best version of the attempt, not perfection. This builds confidence and reduces fear (paired well with advice on overcoming the fear of starting).
Details I focus on in visualization
- Breath and posture.
- Primary motion (finger, bow, stroke, pen move).
- Feel: pressure and contact points.
- Timing: pace and tiny pauses.
- Sensory cues: sound and sight.
- Calmness: steady heartbeat and relaxed shoulders.
Pick two or three details per run and let the rest fall into place.
My quick visualization sequence
- Settle (5–10 sec): close eyes, take two slow breaths.
- See the start (5–10 sec): picture position and first motion.
- Run it slow (10–20 sec): half-speed mental run focusing on 1–2 details.
- Add feeling (5–10 sec): imagine the sound or touch, feel success.
- Finish and cue (5 sec): open eyes and give a short verbal cue like Go.
Short, portable, and a reliable cue to enter practice mode.
My breath control ritual to calm nerves and sharpen attention
Breath is one of my most reliable Rituals that help you get into practice mode. I use a one-minute pattern standing or sitting to calm my chest, quiet my mind, and steady my hands — a quick practice that overlaps with why music can be therapeutic.
The breathing pattern I follow
- Inhale through the nose for 4 seconds.
- Hold gently for 4 seconds.
- Exhale through the mouth for 6 seconds.
- Repeat 3–4 cycles depending on tension.
Comfort over exact counts — the pattern is a guide. For step-by-step instructions, see One-minute breath control exercise to calm.
Why breath control helps
- Slower breaths promote relaxation; hands stop shaking.
- The brief hold clears mental clutter and sharpens focus.
- A longer exhale releases tension more effectively.
- The ritual signals: We’re starting now.
A 60-second breath routine I use
- Sit tall or stand with feet grounded.
- Close or soften your eyes.
- Inhale 4 seconds, hold 4, exhale 6.
- Repeat four cycles (~56 seconds).
- Finish with a normal relaxed breath and a small smile.
I count quietly or use a soft metronome if needed. Afterward I feel alert, calm, and ready.

I use a trigger phrase and motor imagery to cue muscle memory
I pair a short phrase with a clear mental image. Saying the phrase out loud flips a light switch for my focus; the image tells my body what to do next. This pairing is one of my favorite Rituals that help you get into practice mode.
Picking a short trigger phrase
- Keep it simple: 1–3 words.
- Say it out loud to make the cue real.
- Examples: Settle, One breath, Soft and steady.
- Say it the same way each time.
How motor imagery helps
Motor imagery is mental rehearsal: see, feel, and hear the move before your body does. Benefits:
- Prepares the brain without physical movement.
- Reduces mistakes and clumsy starts.
- Speeds learning — hands follow the mind’s path.
Micro-routine I use:
- Close eyes, breathe, say trigger phrase quietly.
- Imagine the move in detail (fingers, weight shift, sound).
- Open eyes and do the movement.
Example pair I use for a new guitar riff
- Trigger phrase: say Settle out loud.
- Imagery: picture the fretting hand landing like a stamp, feel the string, hear the note.
- Micro-routine: breathe, say Settle, imagine the motion, then play once.
- Repeat five times, slow down if you fumble.
The phrase lowers rush; the image gives clear muscle directions. Together they turn a shaky attempt into a lined-up move.
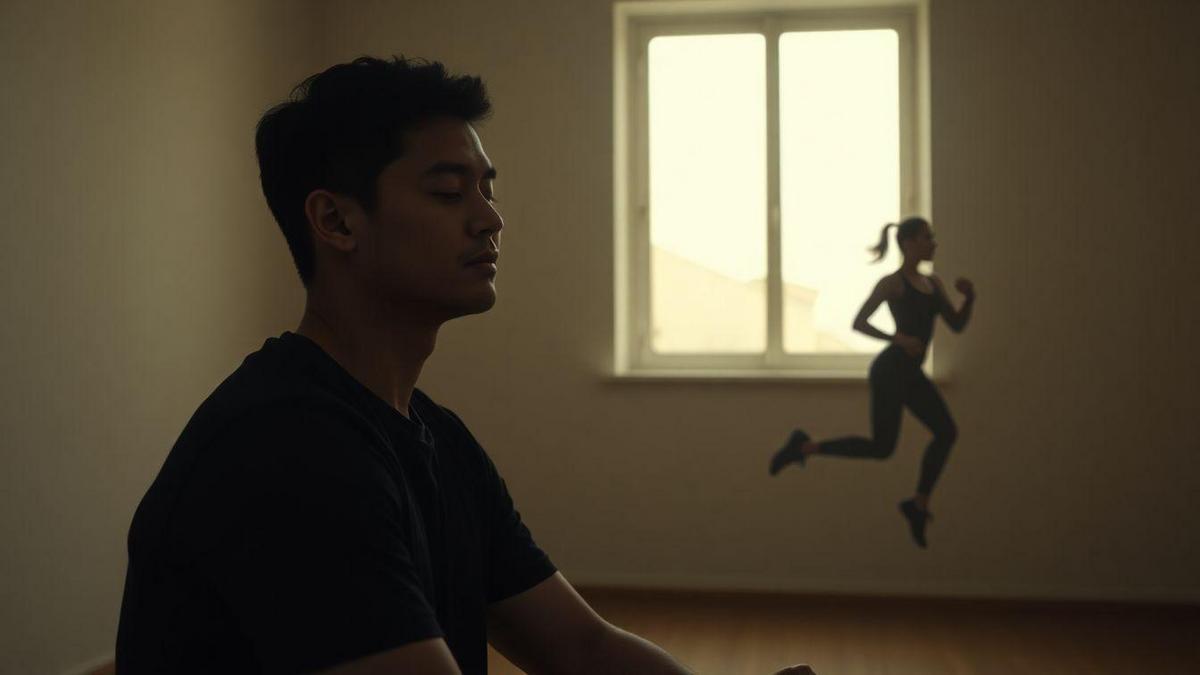
Mental rehearsal I do when I can’t practice physically
When hands are busy or I’m away from my instrument, mental rehearsal keeps skills sharp. Small Rituals that help you get into practice mode — a breath, a cue, a posture — flip the switch for an effective mental run-through.
How I run mental rehearsal step by step
- Set the scene: close eyes, take two deep breaths, imagine your usual practice room.
- Choose one target: a measure, phrase, or trick.
- Visualize motion: watch the exact shape of each motion.
- Add sound: imagine tone, tempo, and dynamics.
- Slow it down: half-speed mental run to catch issues.
- Feel the correction: picture the corrected motion.
- End confidently: close with a full clean phrase.
Why it preserves skill between sessions
- Keeps neural patterns active so memory fades slower.
- Builds confidence and reduces anxiety.
- Prevents bad habits from settling in.
- Saves time when you can’t practice physically.
- Improves focus for the next hands-on session (pair short mental runs with the twenty-minute session idea for consistency).
My five-minute mental rehearsal plan
- 0:00–0:30 — Breathe and set the scene.
- 0:30–1:30 — Pick one target and name it.
- 1:30–3:00 — Visualize motion and sound in slow then normal speed.
- 3:00–4:30 — Correct mentally and feel the right movement.
- 4:30–5:00 — Anchor with a hum, tiny stretch, or whispered cue.
Sensory grounding techniques I use to stay present in practice
I use touch, sound, and sight to pull me back when my mind wanders. Sensory grounding is quick and works like a switch — perfect for Rituals that help you get into practice mode. See Practical grounding and coping techniques overview for accessible grounding strategies.
How I use touch, sound, and sight
- Touch: hold a smooth stone or soft cloth; feel weight, temperature, texture.
- Sound: strike a soft chime or play a short cue tone at the start.
- Sight: mark a spot on a music stand or put a sticky note at eye level.
Keep these the same each session; repetition turns them into habits and helps when you’re overcoming performance anxiety or fear of starting.
When grounding helps most
- When the phone buzzes and attention drifts.
- When anxiety or uncertainty creeps in.
- During long sessions as focus fades.
- When the room is noisy.
Quick reset: three breaths while squeezing the stone and listening to a chime.
My sensory grounding routine
- Prepare (30–60 sec): set the object, place visual anchor, queue a short sound.
- Anchor (60 sec): hold the object and name three textures, strike the chime once, focus on the visual anchor for two breaths.
- Breathe and plan (30 sec): three deep breaths (inhale 4, hold 1, exhale 5), pick one tiny goal.
- Start practice (use a timer): begin with the tiny goal for 10–15 minutes; if distraction returns, repeat the anchor.
Tips: keep the routine identical each time; use a 20-second mini-version (touch one breath one chime) if rushed.
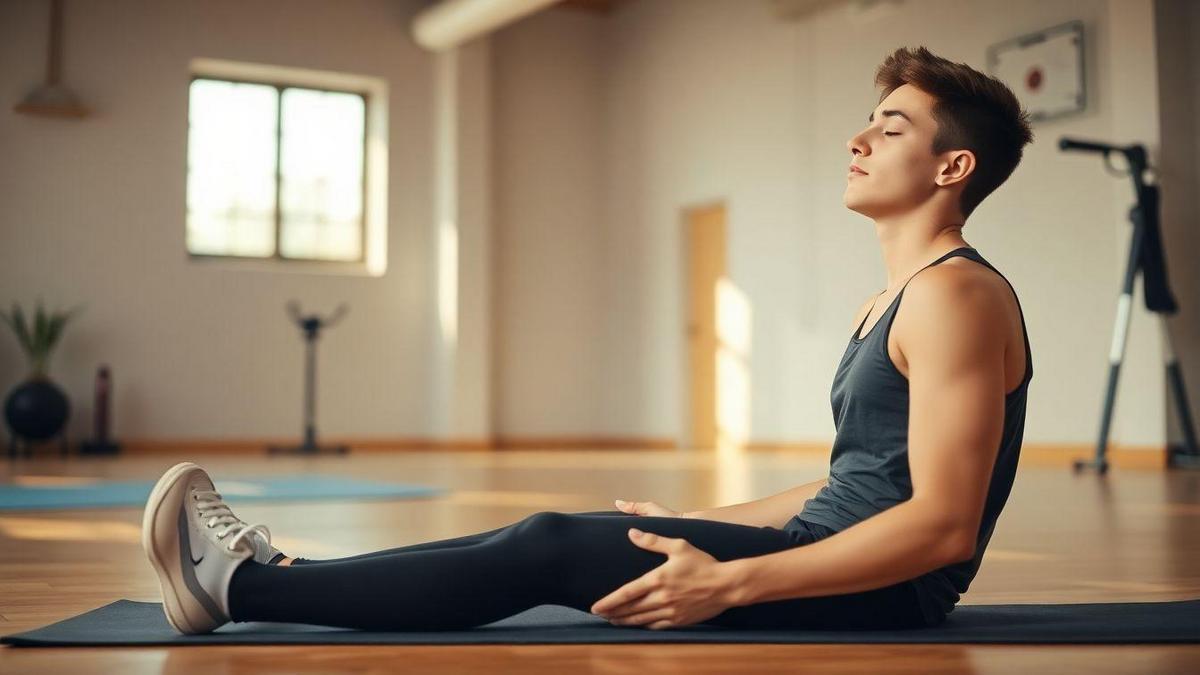
How progressive relaxation and short stretches help me reset before practice
I use five-minute resets as mini rituals — Rituals that help you get into practice mode. They clear tension, slow my breath, and get my body ready to move, sing, or play. For clear clinical steps you can follow, see Four-minute progressive muscle relaxation sequence.
Easy progressive relaxation sequence (under 4 minutes)
- Sit or lie comfortably. Take three slow breaths.
- Feet and calves: tense 5 sec, release.
- Thighs and hips: tense 5 sec, release.
- Stomach and lower back: tense 5 sec, release.
- Shoulders and neck: shrug up 5 sec, drop and relax.
- Hands and forearms: make a tight fist 5 sec, open.
- Face and jaw: clench 5 sec, soften.
- Finish with three slow breaths and whisper ready.
I say the cue word on the exhale to link the feeling to practice.
How brief stretches help
- Reduce stiffness that blocks posture and sound.
- Free neck and shoulders to improve breathing and tone.
- Improve wrist and finger range for dexterity.
- Deep breath stretches expand lung capacity and calm.
My quick 5-minute relaxation and stretch loop
- Sit tall, three deep breaths.
- Progressive relaxation (~2 min).
- Neck rolls: 3 each side (no bouncing).
- Shoulder rolls: 5 forward, 5 back.
- Wrist circles and finger spreads: 30 sec.
- Forward fold or seated hamstring stretch: 30 sec.
- Stand, reach up inhale, fold on exhale — repeat twice.
- Final breath and whisper ready.
Use a timer or a short song clip to keep it quick. Add time for shoulders if you’re tense.
Conclusion
I keep practice simple. A tiny anchor — a fingertip press, a breath, a click — works like flipping a light switch for focus. Short pre-performance routines, a clear cue, and a single tiny goal cut through the noise and make starting painless.
These Rituals that help you get into practice mode build consistency, not willpower. Breathe, visualize success, say a short trigger phrase, and stretch just enough. Small wins stack up, muscle memory follows, nerves calm, and hands steady.
Think of these rituals as planting seeds: do them often and the habit grows. When distraction creeps in, sensory grounding or a 60-second breath resets you fast. Mental rehearsal keeps progress between sessions. That combo turns practice from a chore into steady progress. If you want more practical, bite-sized techniques like these, read more at https://clickneutro.com.
Frequently asked questions
What quick ritual helps me start practice fast?
Use short Rituals that help you get into practice mode: clap or press your anchor, take one breath, and set a tiny goal. Start sharp.
How do I set my space to enter practice mode?
Tidy your area, turn off distractions, and set a single lamp or visual anchor. The consistent environment signals your brain.
How long should my ritual be before practice?
Keep it short: 30–90 seconds. Short rituals reliably lock focus without eating time. For guidance on daily time targets, see how much time per day for music.
1 comentário em “Rituals that help you enter practice mode”